Simula Research Laboratory /
Center for Resilient Networks and Applications /
NorNet
Homepage of Thomas Dreibholz /
System-Tools Homepage
Simula Research Laboratory /
Center for Resilient Networks and Applications /
NorNet
Homepage of Thomas Dreibholz /
System-Tools Homepage
New release: td-system-tools-2.7.10. This version adds Solaris (OpenIndiana) support. Furthermore, it provides some minor bug fixes.
New release: td-system-tools-2.7.9. The X.509 test hierarchy example script has been updated, including a replacement of the unmaintained Python netifaces package by psutil.
New release: td-system-tools-2.7.8. This update only provides a fix for System-Maintenance under Ubuntu/Debian.
New release: td-system-tools-2.7.7. This version provides some support improvements for Alpine Linux, as well as for NetBSD and OpenBSD. The X.509-Tools now work with LibreSSL as well.
New release: td-system-tools-2.7.6. This version provides some improvements and fixes for Alpine Linux.
New release: td-system-tools-2.7.5. This version provides some improvements for handling Alpine, OpenSUSE, NetBSD, and OpenBSD installations.
New release: td-system-tools-2.7.4. This version provides some build improvements, including builds for NetBSD, OpenBSD, and MacOS.
New release: td-system-tools-2.7.3. This version adds further CMake build configuration options.
New release: td-system-tools-2.7.2. This version adds a CMake build options for installing get-system-info and the System-Info examples.
New release: td-system-tools-2.7.1. This release brings the GIMP Scripts, a collection of GIMP-based graphics handling scripts. See GIMP-Scripts for details!
System-Tools is a collection of helpful tools for basic system management of Linux and FreeBSD systems:
System-Tools provides internationalisation (i18n) support using GNU gettext. That is, translation files for the output of the programs are supported. You can support the project by contributing translations for your language. See Internationalisation (I18N) for details!
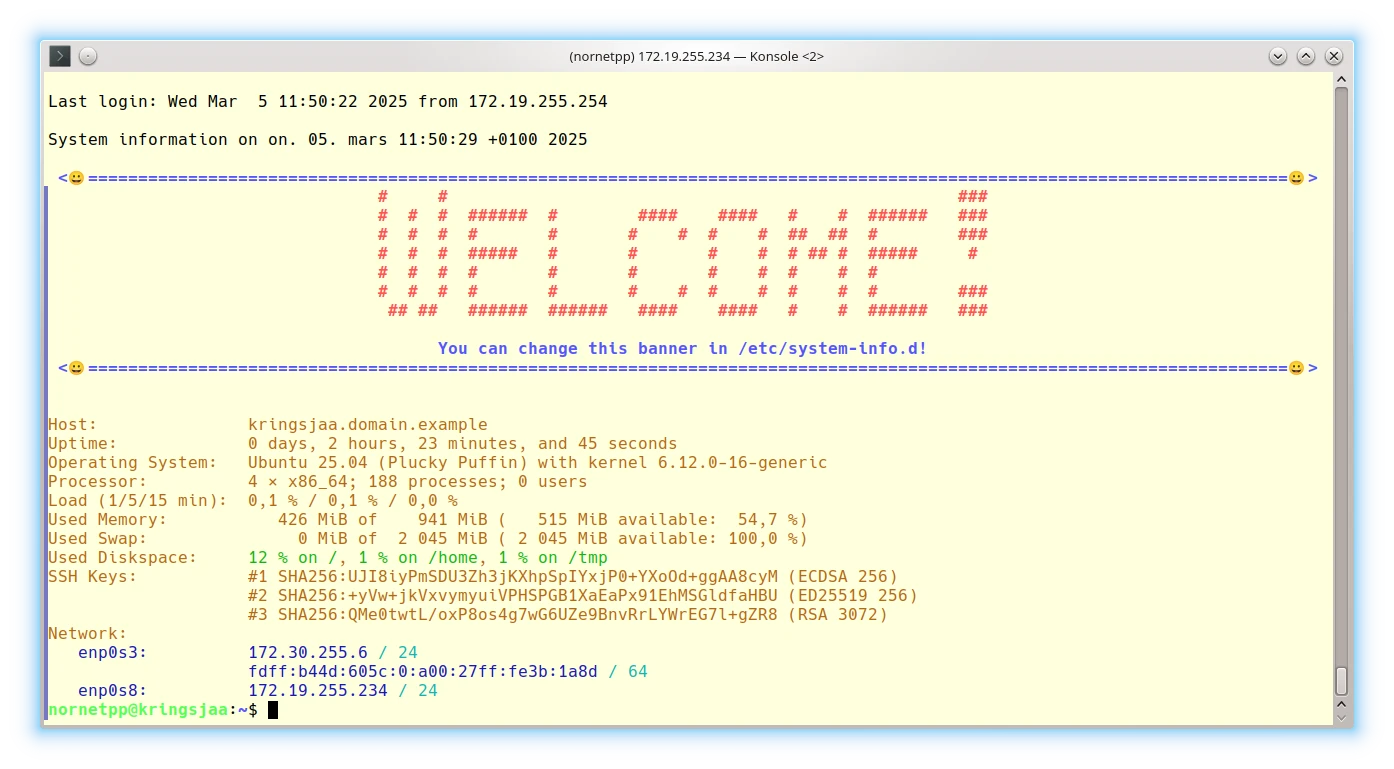
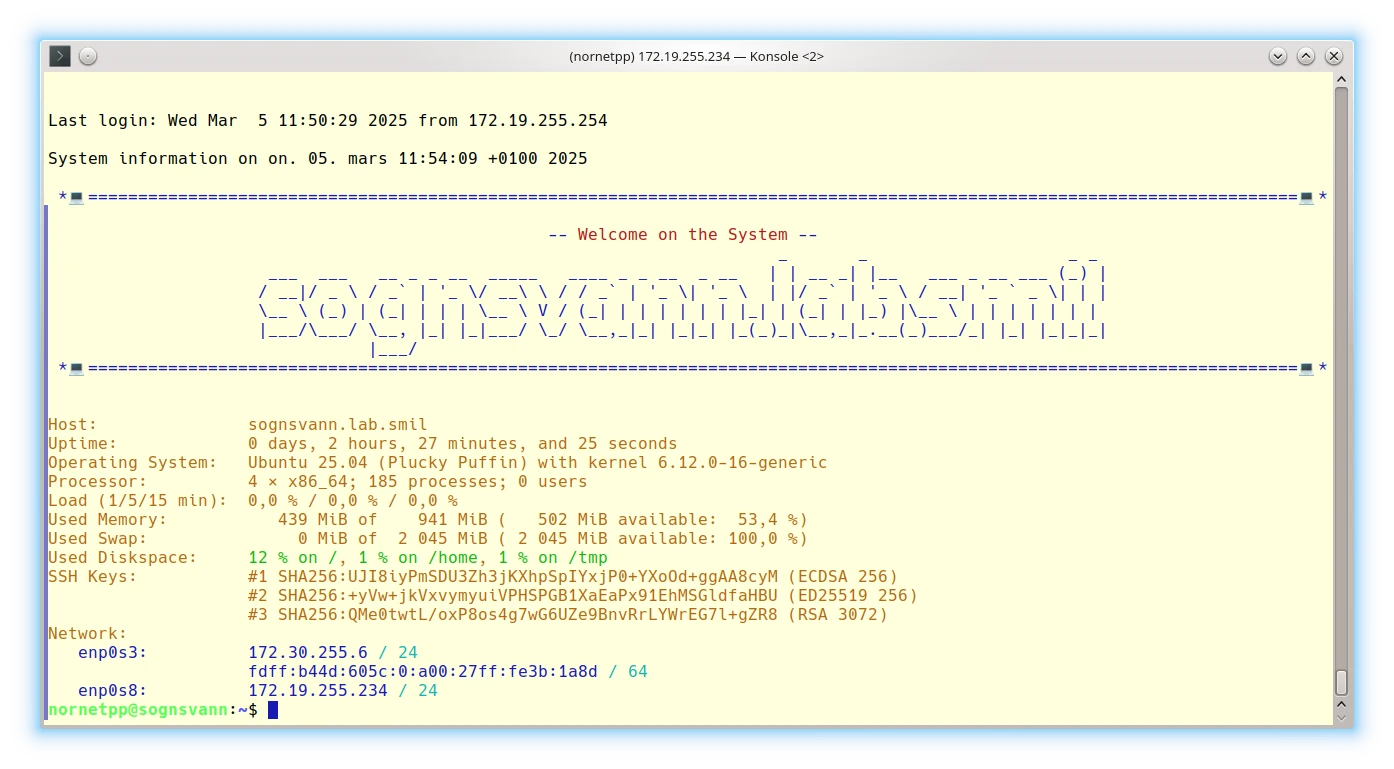
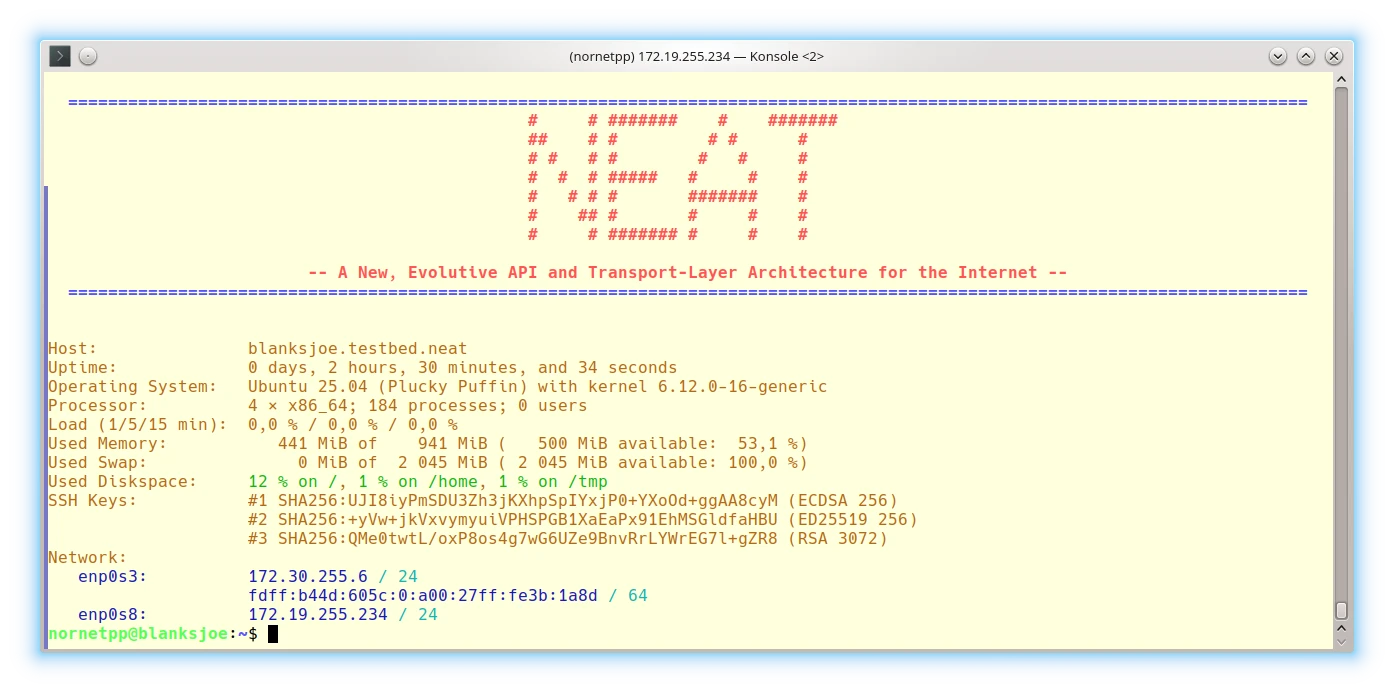
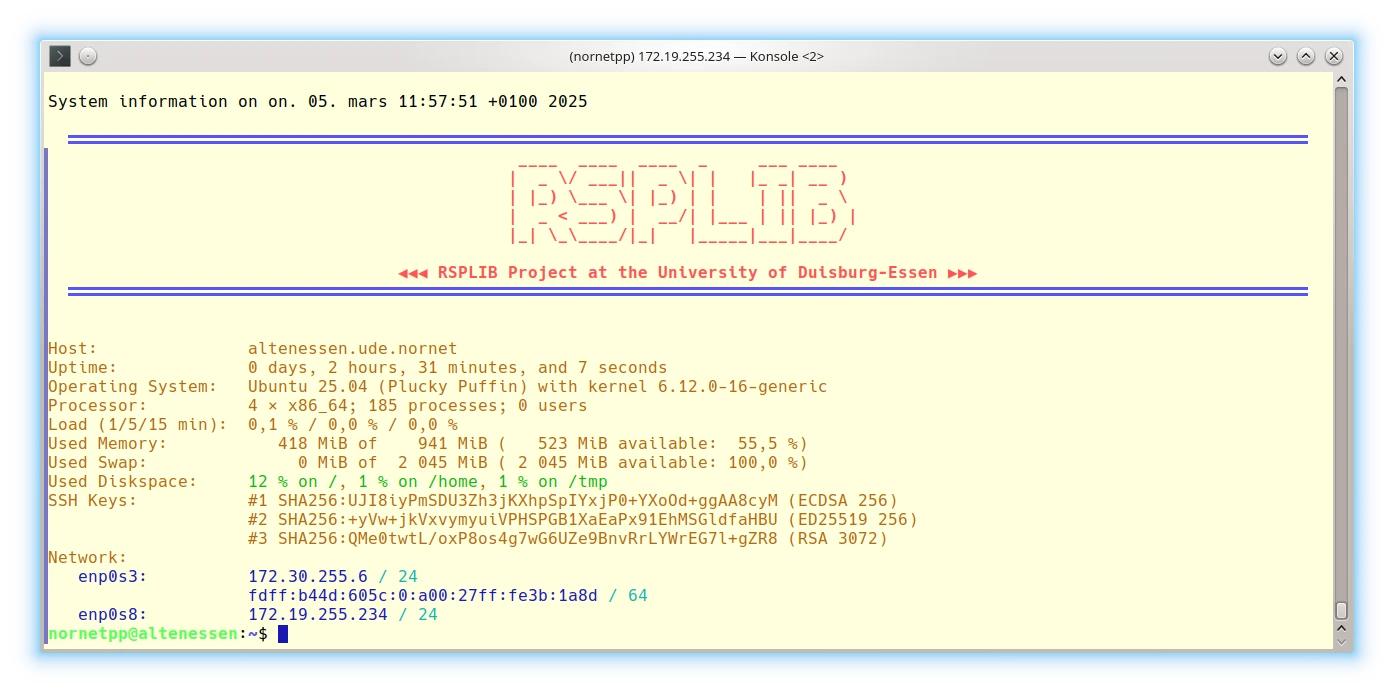
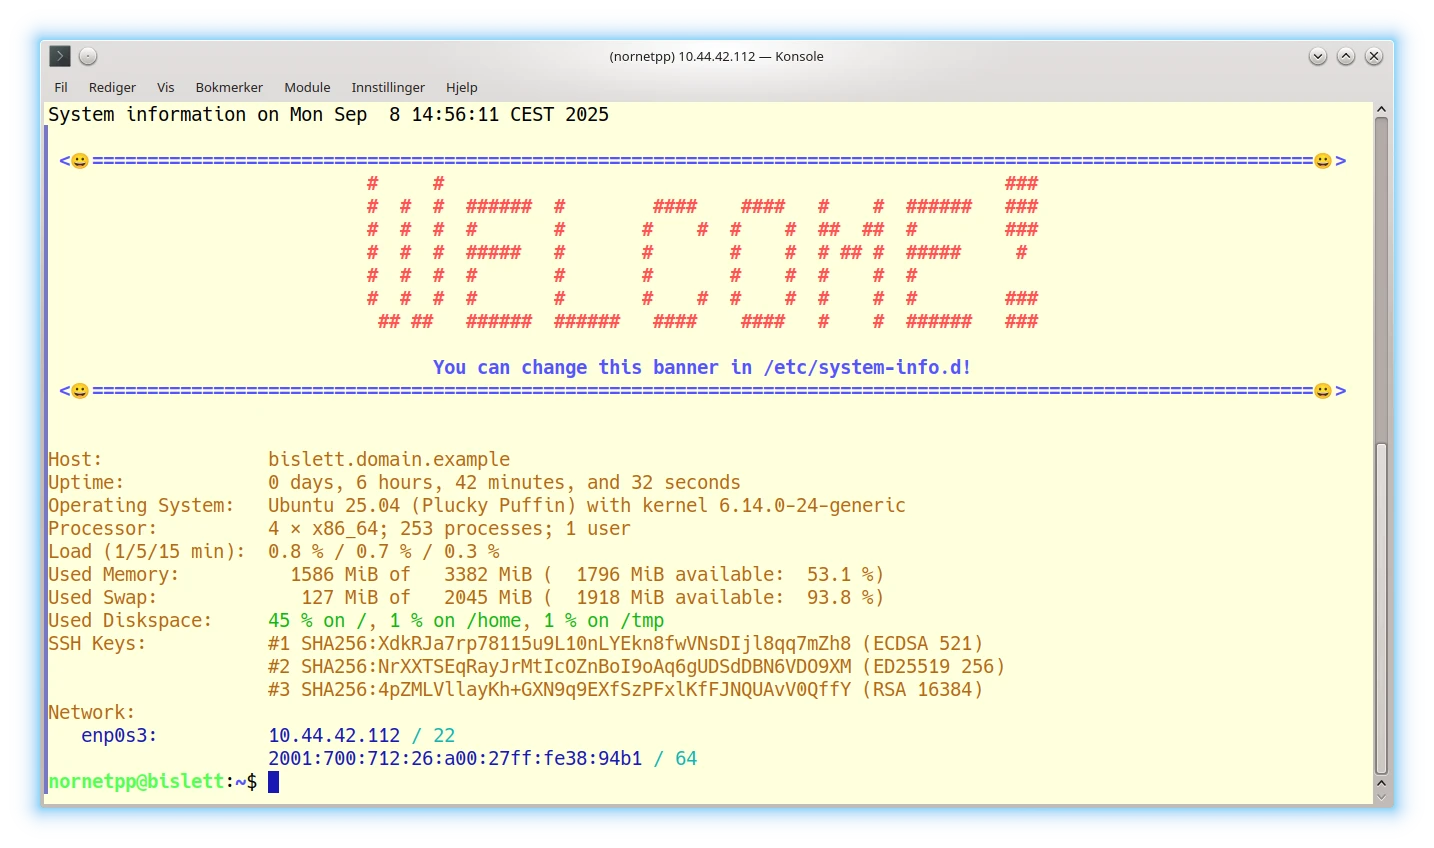
System-Info displays basic status information about the system: hostname, uptime, CPU, memory statistics, disk space statistics, SSH public key hashes, and networking information. Furthermore, it can be configured to show one or more banners (for example, a project name). System-Info can be configured to be automatically run when logging in, providing the user with an up-to-date overview of the system.
One main purpose of System-Info is to run on login, to particularly show a nice login banner (for example, a project or company logo) and then present the basic system information. For this purpose, System-Info can be configured with banner scripts (by default looked up in /etc/system-info.d or /usr/local/etc/system-info.d), which are processed in alphabetically descending order by file name, like:
95-application-logo,90-project-logo,60-department-logo,50-company-logo,01-example.
The names of all scripts MUST begin with two decimal digits. That is, scripts must be named [0-9][0-9]... to be processed by System-Info!
If one of the scripts exits with a non-zero exit code, the processing of further banner scripts is stopped. This can be used for preconfiguring a system for example with a department and company logo, where the company logo script terminates further processing. A modified system for a certain project can add a project logo as well. The project logo script may terminate further processing, not showing department and company logos. This may be combined with packaging scripts, for example adding an application logo as part of the application’s install package (like adding a script 95-application-logo).
Some examples, using the banner-helper library provided by System-Info:
|
|
|
|
System-Maintenance runs some system maintenance tasks to keep the system clean and up to date. These tasks are:
The typical usage is quite simple, e.g.:
sudo System-MaintenanceThe manpage of System-Maintenance contains details and further examples:
man System-MaintenanceReset-Machine-ID resets the machine identity state, particularly for a cloned VM, to make it appear as a new machine. It performs the following tasks:
/etc/machine-id./var/lib/dbus/machine-id (symlink to /etc/machine-id).
The changes are made interactively on request only, unless the option --yes-to-all-i-am-really-sure is set.
Reset machine ID, without changing the hostname:
sudo Reset-Machine-IDReset machine ID, and change the hostname to new-hostname.domain.example:
sudo Reset-Machine-ID --hostname new-hostname.domain.exampleThe manpage of Reset-Machine-ID contains details and further examples:
man Reset-Machine-IDFingerprint-SSH-Keys prints the SSH key fingerprints of the local machine in different formats: SSH hash, DNS SSHFP RR, or Python dictionary. Its typical usage is straightforward:
Fingerprint-SSH-KeysThe manpage of Fingerprint-SSH-Keys contains details and further examples:
man Fingerprint-SSH-KeysConfigure-GRUB adjusts a GRUB configuration file by applying a configuration from a template, and merging the existing configurations settings with additional customisations. It can for example be used to set a custom screen resolution (GRUB_GFXMODE option) or startup tune (GRUB_INIT_TUNE option). The Virtual Machine Image Builder and System Installation Scripts use Configure-GRUB to configure the screen resolution and a boot splash image.
The manpage of Configure-GRUB contains details and further examples:
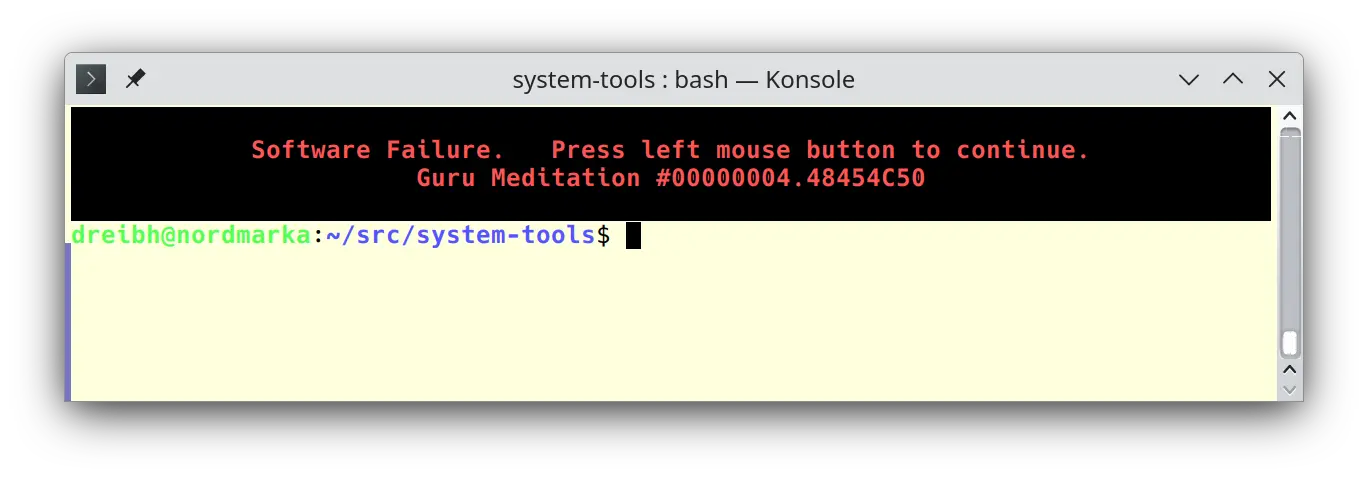
man configure-grubPrint-UTF8 is a simple program to print UTF-8 strings in the console with options for indentation, centering, separator as well as size/length/width information. It can e.g. be utilised for printing System-Info banners, or for displaying error messages like this classic Amiga Guru Meditation example:
print-utf8 -n -s "\e[1;31;40;5m█" "▀" "█\e[0m"
echo -e "Software Failure.   Press left mouse button to continue.\nGuru Meditation #00000004.48454C50" | \
print-utf8 -n -C "\e[1;31;40;5m█\e[25m" "\e[5m█\e[0m"
print-utf8 -n -s "\e[1;31;40;5m█" "▄" "█\e[0m"
The manpage of Print-UTF8 contains details and various further examples:
man print-utf8Text-Block is a flexible tool for automated editing operations of text blocks in files or streams. This allows for automated, non-interactive editing of specific sections of a file using begin and end tags or line numbers:
The blocks to be modified can be selected by begin/end tags, or line numbers. The static pages of this website are generated by using Text-Block to insert contents like publications and project lists, add new software releases, etc.
For example, the publications list in index.html is placed between the tags ‘<!– BEGIN-OF-PUBLICATIONS –>’ and ‘<!– END-OF-PUBLICATIONS –>’. Text-Block can be used to manipulate this block:
To extract the publications list to standard output:
text-block -i index.html \
   --begin-tag '<!-- BEGIN-OF-PUBLICATIONS -->' \
   --end-tag '<!-- END-OF-PUBLICATIONS -->' \
   --extract
To delete the publications list and write the page to output.html:
text-block -i index.html -o output.html \
   --begin-tag '<!-- BEGIN-OF-PUBLICATIONS -->' \
   --end-tag '<!-- END-OF-PUBLICATIONS -->' \
   --delete
To replace the publications list by contents from update.block (e.g. generated by BibTeXConv), and write the page to output.html:
text-block -i index.html -o output.html \
   --begin-tag '<!-- BEGIN-OF-PUBLICATIONS -->' \
   --end-tag '<!-- END-OF-PUBLICATIONS -->' \
   --replace update.block
The manpage of Text-Block contains details and various further examples:
man text-blockThe Unix-Timestamp-Tools are utilities for converting Unix timestamps (time since the Unix Epoch, i.e. 1970-01-01 00:00:00.000000000 UTC) to/from human-readable date and time strings. The tools support Unix timestamps in seconds, milliseconds, microseconds, as well as nanoseconds.
Time2UnixTS converts a date/time string in UTC to the corresponding Unix timestamp, with support for fractional seconds.
Example to convert “1976-09-29 12:12:03.123456789”:
To integer seconds (i.e. ignoring the fractional seconds):
time2unixts --seconds "1976-09-29 12:12:03.123456789"To float seconds (i.e. keeping the fractional seconds):
time2unixts --float --seconds "1976-09-29 12:12:03.123456789"To nanoseconds:
time2unixts --nanoseconds "1976-09-29 12:12:03.123456789"To convert multiple dates:
time2unixts --milliseconds \
   "1976-09-29 12:12:03.123456789" \
   "1814-05-17 12:11:10.987654321" \
   "1999-12-31 23:59:59"
The manpage of Time2UnixTS contains details and further examples:
man time2unixtsUnixTS2Time converts a Unix timestamp to a date/time string. The Unix timestamp unit (seconds, milliseconds, microseconds, or nanoseconds) can in most cases be detected automatically by heuristic (see the manpage), if not specified explicitly.
Examples:
Convert 212843523123456789 (in ns):
unixts2time 212843523123456789Or explicitly:
unixts2time --nanoseconds 212843523123456789Convert 212843523 (in s)
unixts2time --seconds 212843523Convert -4911104929012345679 (in ns); “–” is necessary to stop interpreting “-” as option:
unixts2time --nanoseconds -- -4911104929012345679Convert multiple Unix timestamps:
unixts2time -- 212847123123 -4911104929012 946684799000The manpage of UnixTS2Time contains details and further examples:
man unixts2timeTry-Hard runs a command and retries for a given number of times in case of error, with a random or deterministic delay between the trials and possibility to automatically increase the delay. Furthermore, it allows automatically increasing the delay before a new trial, e.g. using a truncated binary exponential backoff.
Examples:
Try a file download up to 3 times, with a random delay from [0, 60] seconds between trials:
try-hard 3 60 --verbose -- \
   wget -O example.tar.gz \
      https://www.example.net/example.tar.gz
Try a file download up to 32 times, with an initial random delay interval [1, 2] seconds, but increasing it multiplicatively by factor 2.0 for each new trial, with an upper delay bound of 512 seconds (i.e. realising a truncated binary exponential backoff):
try-hard 32 2 \
  --verbose \
  --min-delay 1.0 \
  --multiplicative-increase 2.0 \
  --truncate-delay 512.0 \
  -- \
  wget -O example.tar.gz \
     https://www.example.net/example.tar.gz
Try a file download up to 6 times, with a fixed (i.e. deterministic) 10 seconds delay between trials, without verbose status printing:
try-hard 3 10 --deterministic -- \
   wget -O example.tar.gz \
      https://www.example.net/example.tar.gz
The manpage of Try-Hard contains details and further examples:
man try-hardRandom-Sleep waits for a random time, selected from a given interval, with support for fractional seconds.
Examples:
Wait between 0.5 and 299.5 seconds:
random-sleep 0.5 299.5 && echo "Finished waiting!"Wait between 10 and 60 seconds, and print status information:
random-sleep 10 60 --verbose && echo "Finished waiting!"The manpage of Random-Sleep contains details and further examples:
man random-sleepThe X.509-Tools are a set of utilities for viewing, verifying and testing X.509 certificates:
View-Certificate displays basic details of given certificates in Privacy-Enhanced Mail (PEM) or Distinguished Encoding Rules (DER) format, like subject, common name, etc. Examples:
Display the Root CA certificate used by Let’s Encrypt, which is usually installed under /usr/share/ca-certificates/mozilla/ISRG_Root_X1.crt (Debian/Ubuntu), /etc/pki/ca-trust/extracted/pem/directory-hash/ISRG_Root_X1.pem (Fedora), or /usr/share/certs/trusted/ISRG_Root_X1.pem (FreeBSD):
view-certificate /usr/share/ca-certificates/mozilla/ISRG_Root_X1.crt
Display the details of the certificate in file www.nntb.no.crt:
view-certificate www.nntb.no.crtAlso see the manpage of View-Certificate for further details and examples:
man view-certificateView-CRL displays details of given X.509 Certificate Revocation Lists (CRL) in Privacy-Enhanced Mail (PEM) or Distinguished Encoding Rules (DER) format, particularly the revoked certificates. Examples:
Display the CRL in file TestGlobal.crl:
view-crl TestGlobal.crlDownload the Google CRL (from http://c.pki.goog/wr2/GSyT1N4PBrg.crl) and display it:
wget -O google-crl.der http://c.pki.goog/wr2/GSyT1N4PBrg.crl && \
view-crl google-crl.der
Also see the manpage of View-CRL for further details and examples:
man view-crlCheck-Certificate verifies a certificate, by verifying its chain from a given Root CA certificate, and optionally a Certificate Revocation List (CRL) for certificate revocations. The checks are made using OpenSSL. If GnuTLS and/or Network Security Services (NSS) are installed as well, the verification is also made by these implementations in addition. This ensures that – in case of success – the certificate and its chain work with all three major X.509 implementations. Examples:
Verify the server certificate in My-Server-Certificate.crt using the Root CA certificate in My-CA-Certificate.crt:
check-certificate My-CA-Certificate.crt My-Server-Certificate.crt
The same as above, but in addition also checking the CRL in CRL.crl for certificate revocations:
check-certificate --crl CRL.crl \
   My-CA-Certificate.crt My-Server-Certificate.crt
Verify the certificate in www.nntb.no.crt using the Let’s Encrypt Root CA certificate in /usr/share/ca-certificates/mozilla/ISRG_Root_X1.crt:
check-certificate \
   /usr/share/ca-certificates/mozilla/ISRG_Root_X1.crt \
   www.nntb.no.crt
Also see the manpage of Check-Certificate for further details and examples:
man check-certificate
Extract-PEM extracts an X.509 certificate bundle from a Privacy-Enhanced Mail (PEM) file into separate files for each entry. The output files are named using a given prefix, with extension according to the entry type (i.e. .crt for a certificate, .key for a key, .crl for a CRL). The first entry (usually: the server, client or user certificate) and/or last entry (usually: the Root CA) may be skipped. Examples:
Extract the PEM file My-Server-Certificate.crt, into files Certificate-<NUMBER>.<EXTENSION>. The number is starting from 1, and provides the position of an entry within the input file:
extract-pem My-Server-Certificate.crt --output-prefix Certificate-
Extract the PEM file My-Server-Certificate.crt, into files Intermediate-<NUMBER>.<EXTENSION>, skipping the first and last entry. That is, only the intermediate certificates are extracted:
 extract-pem My-Server-Certificate.crt \
    --skip-first-entry --skip-last-entry --output-prefix Intermediate-
Also see the manpage of Extract-PEM for further details and examples:
man extract-pemDER2PEM and PEM2DER are simple scripts to convert between ASCII-encoded Privacy-Enhanced Mail (PEM) and binary-encoded Distinguished Encoding Rules (DER) certificates or CRLs. Examples:
Download the Google CRL (in DER format, from http://c.pki.goog/wr2/GSyT1N4PBrg.crl) and convert it to PEM:
wget -O google-crl.der http://c.pki.goog/wr2/GSyT1N4PBrg.crl && \
der2pem google-crl.der google-crl.pem
Convert My-Server-Certificate.crt in PEM format to My-Server-Certificate.der in DER format:
pem2der My-Server-Certificate.crt My-Server-Certificate.derTest-TLS-Connection establishes a Transport Layer Security (TLS) connection to a remote TCP server on a given port number. The X.509 certificate is then verified by Check-Certificate. Examples:
Connect to www.heise.de and verify the certificate with the Root CA certificate in /usr/share/ca-certificates/mozilla/ISRG_Root_X1.crt (used by Let’s Encrypt):
test-tls-connection www.heise.de:443 \
   /usr/share/ca-certificates/mozilla/ISRG_Root_X1.crt
Connect to www.nntb.no, store the received certificate in www.nntb.no.crt, and verify the certificate with the Root CA certificate in /usr/share/ca-certificates/mozilla/ISRG_Root_X1.crt (used by Let’s Encrypt):
test-tls-connection www.nntb.no:443 \
   /usr/share/ca-certificates/mozilla/ISRG_Root_X1.crt \
   --save-certificate www.nntb.no.crt
Also see the manpage of Test-TLS-Connection for further details and examples:
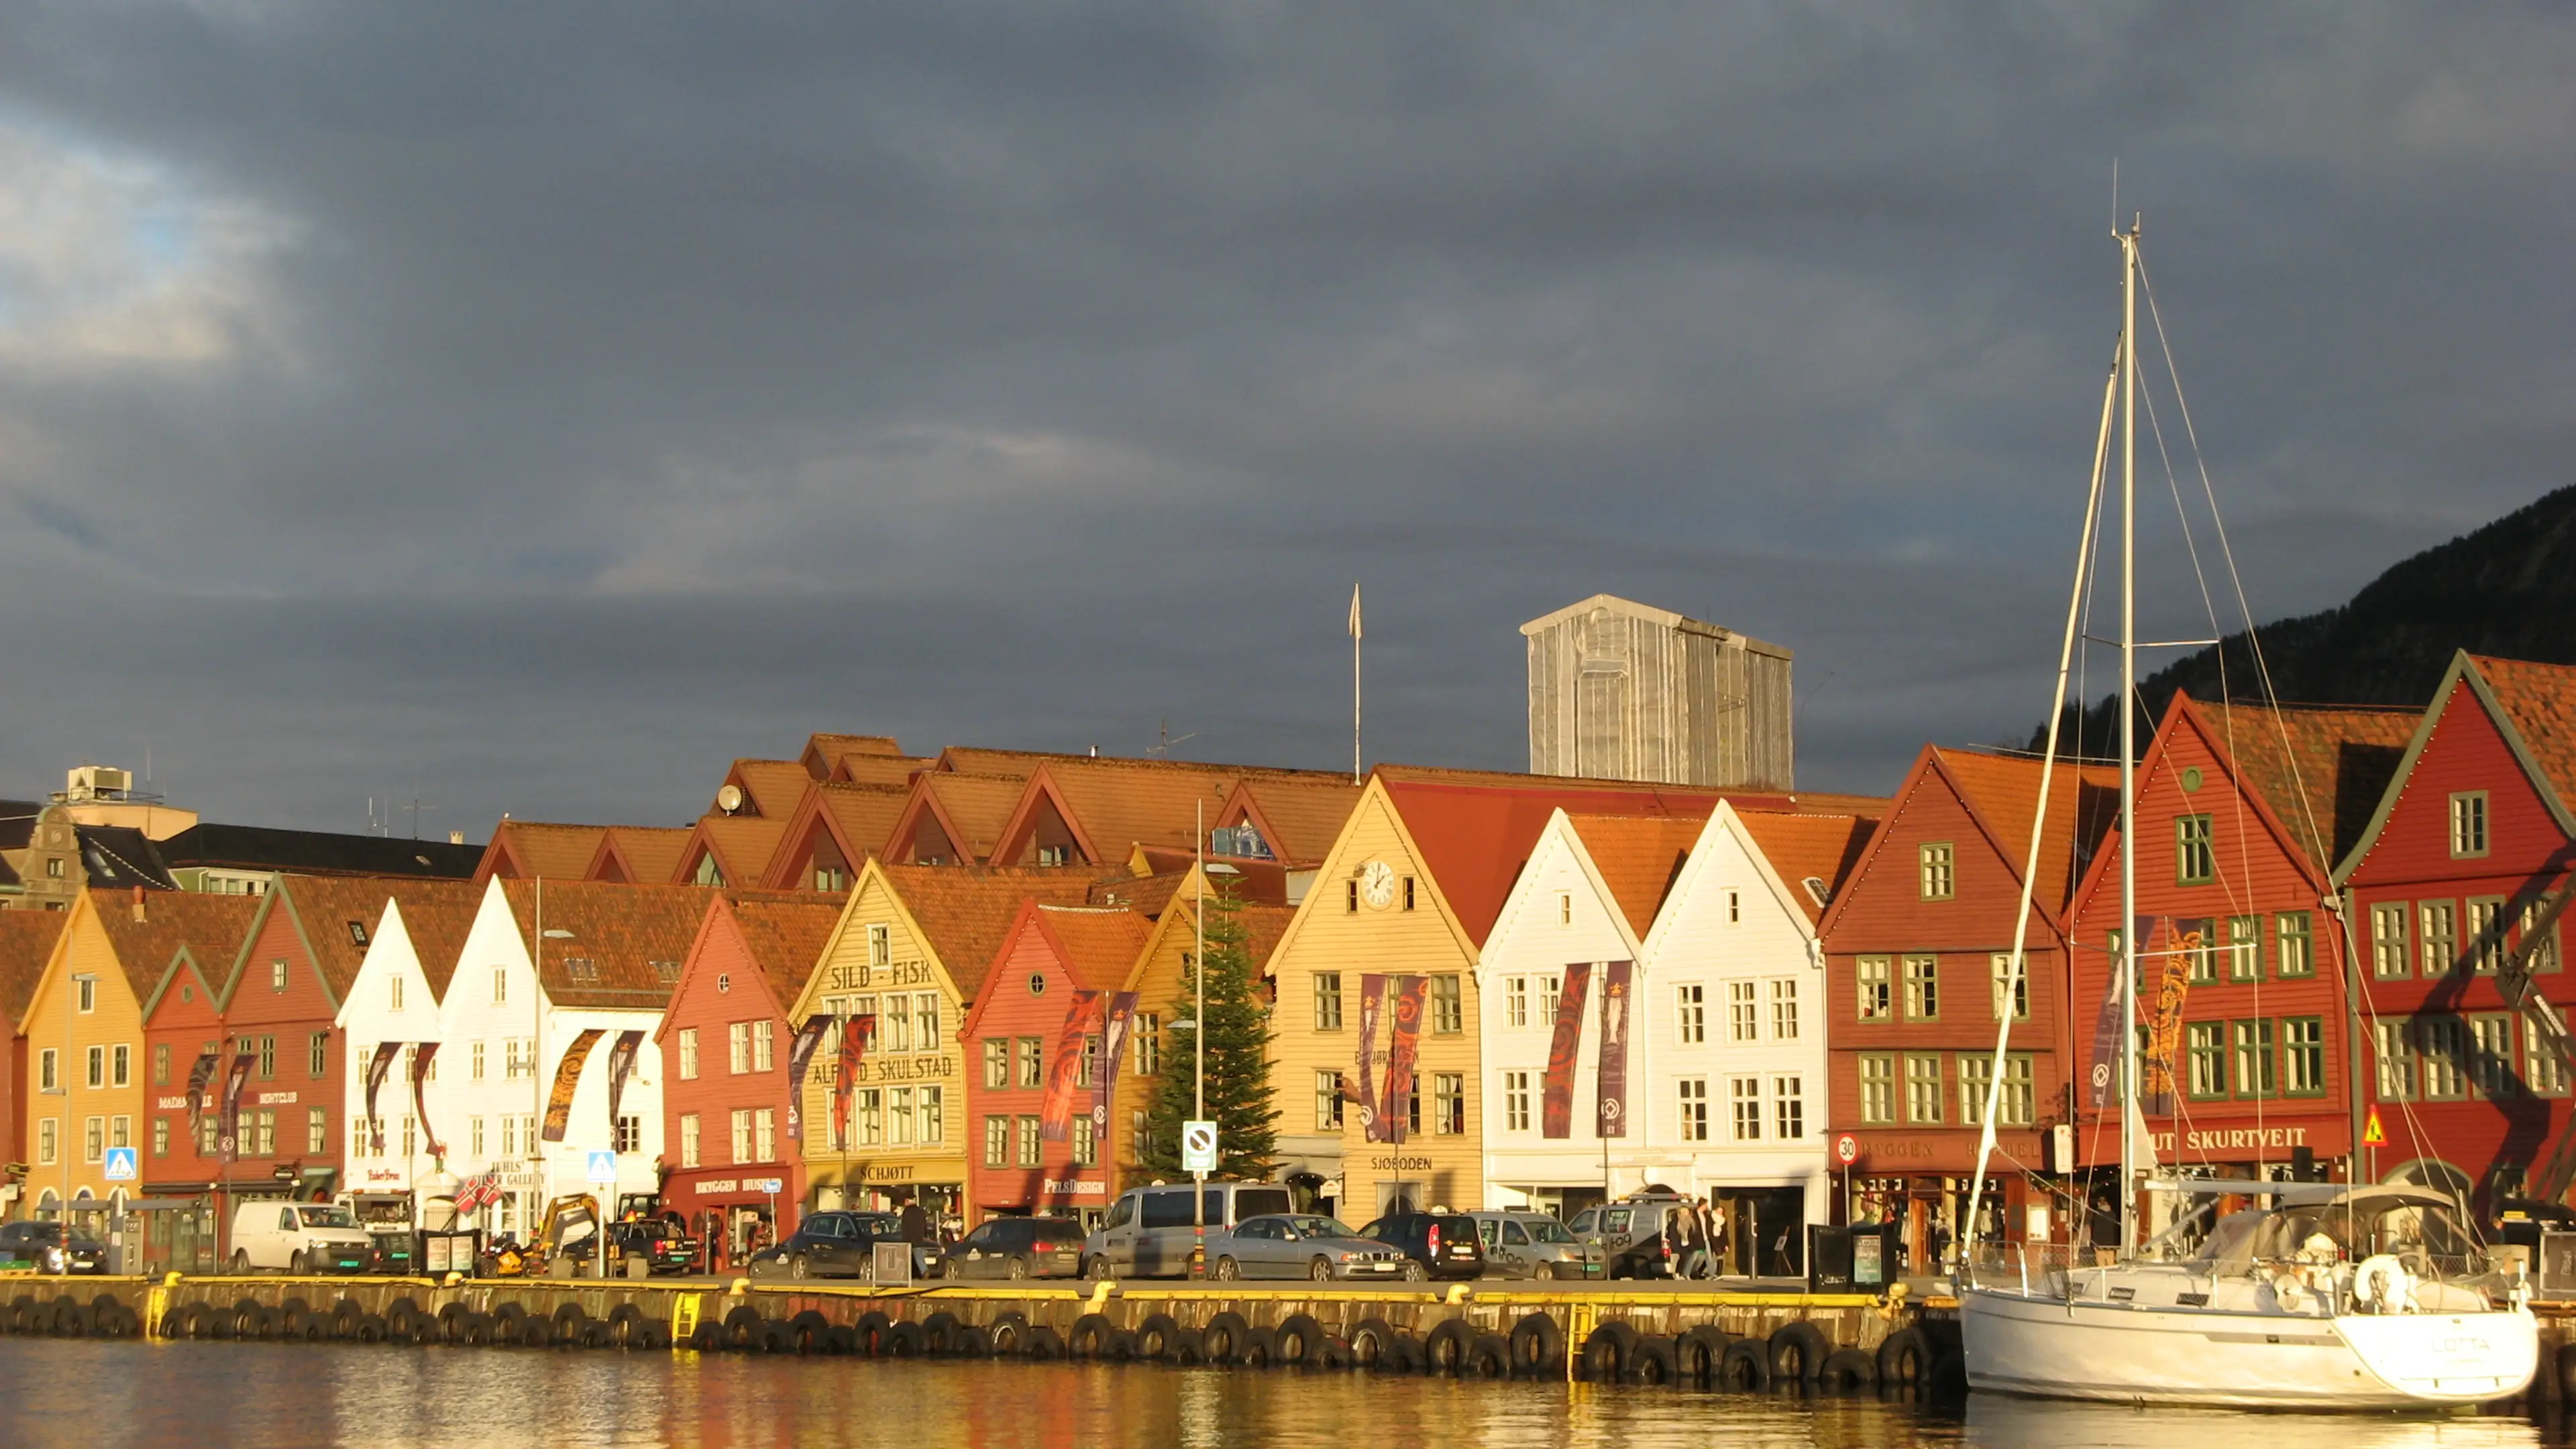
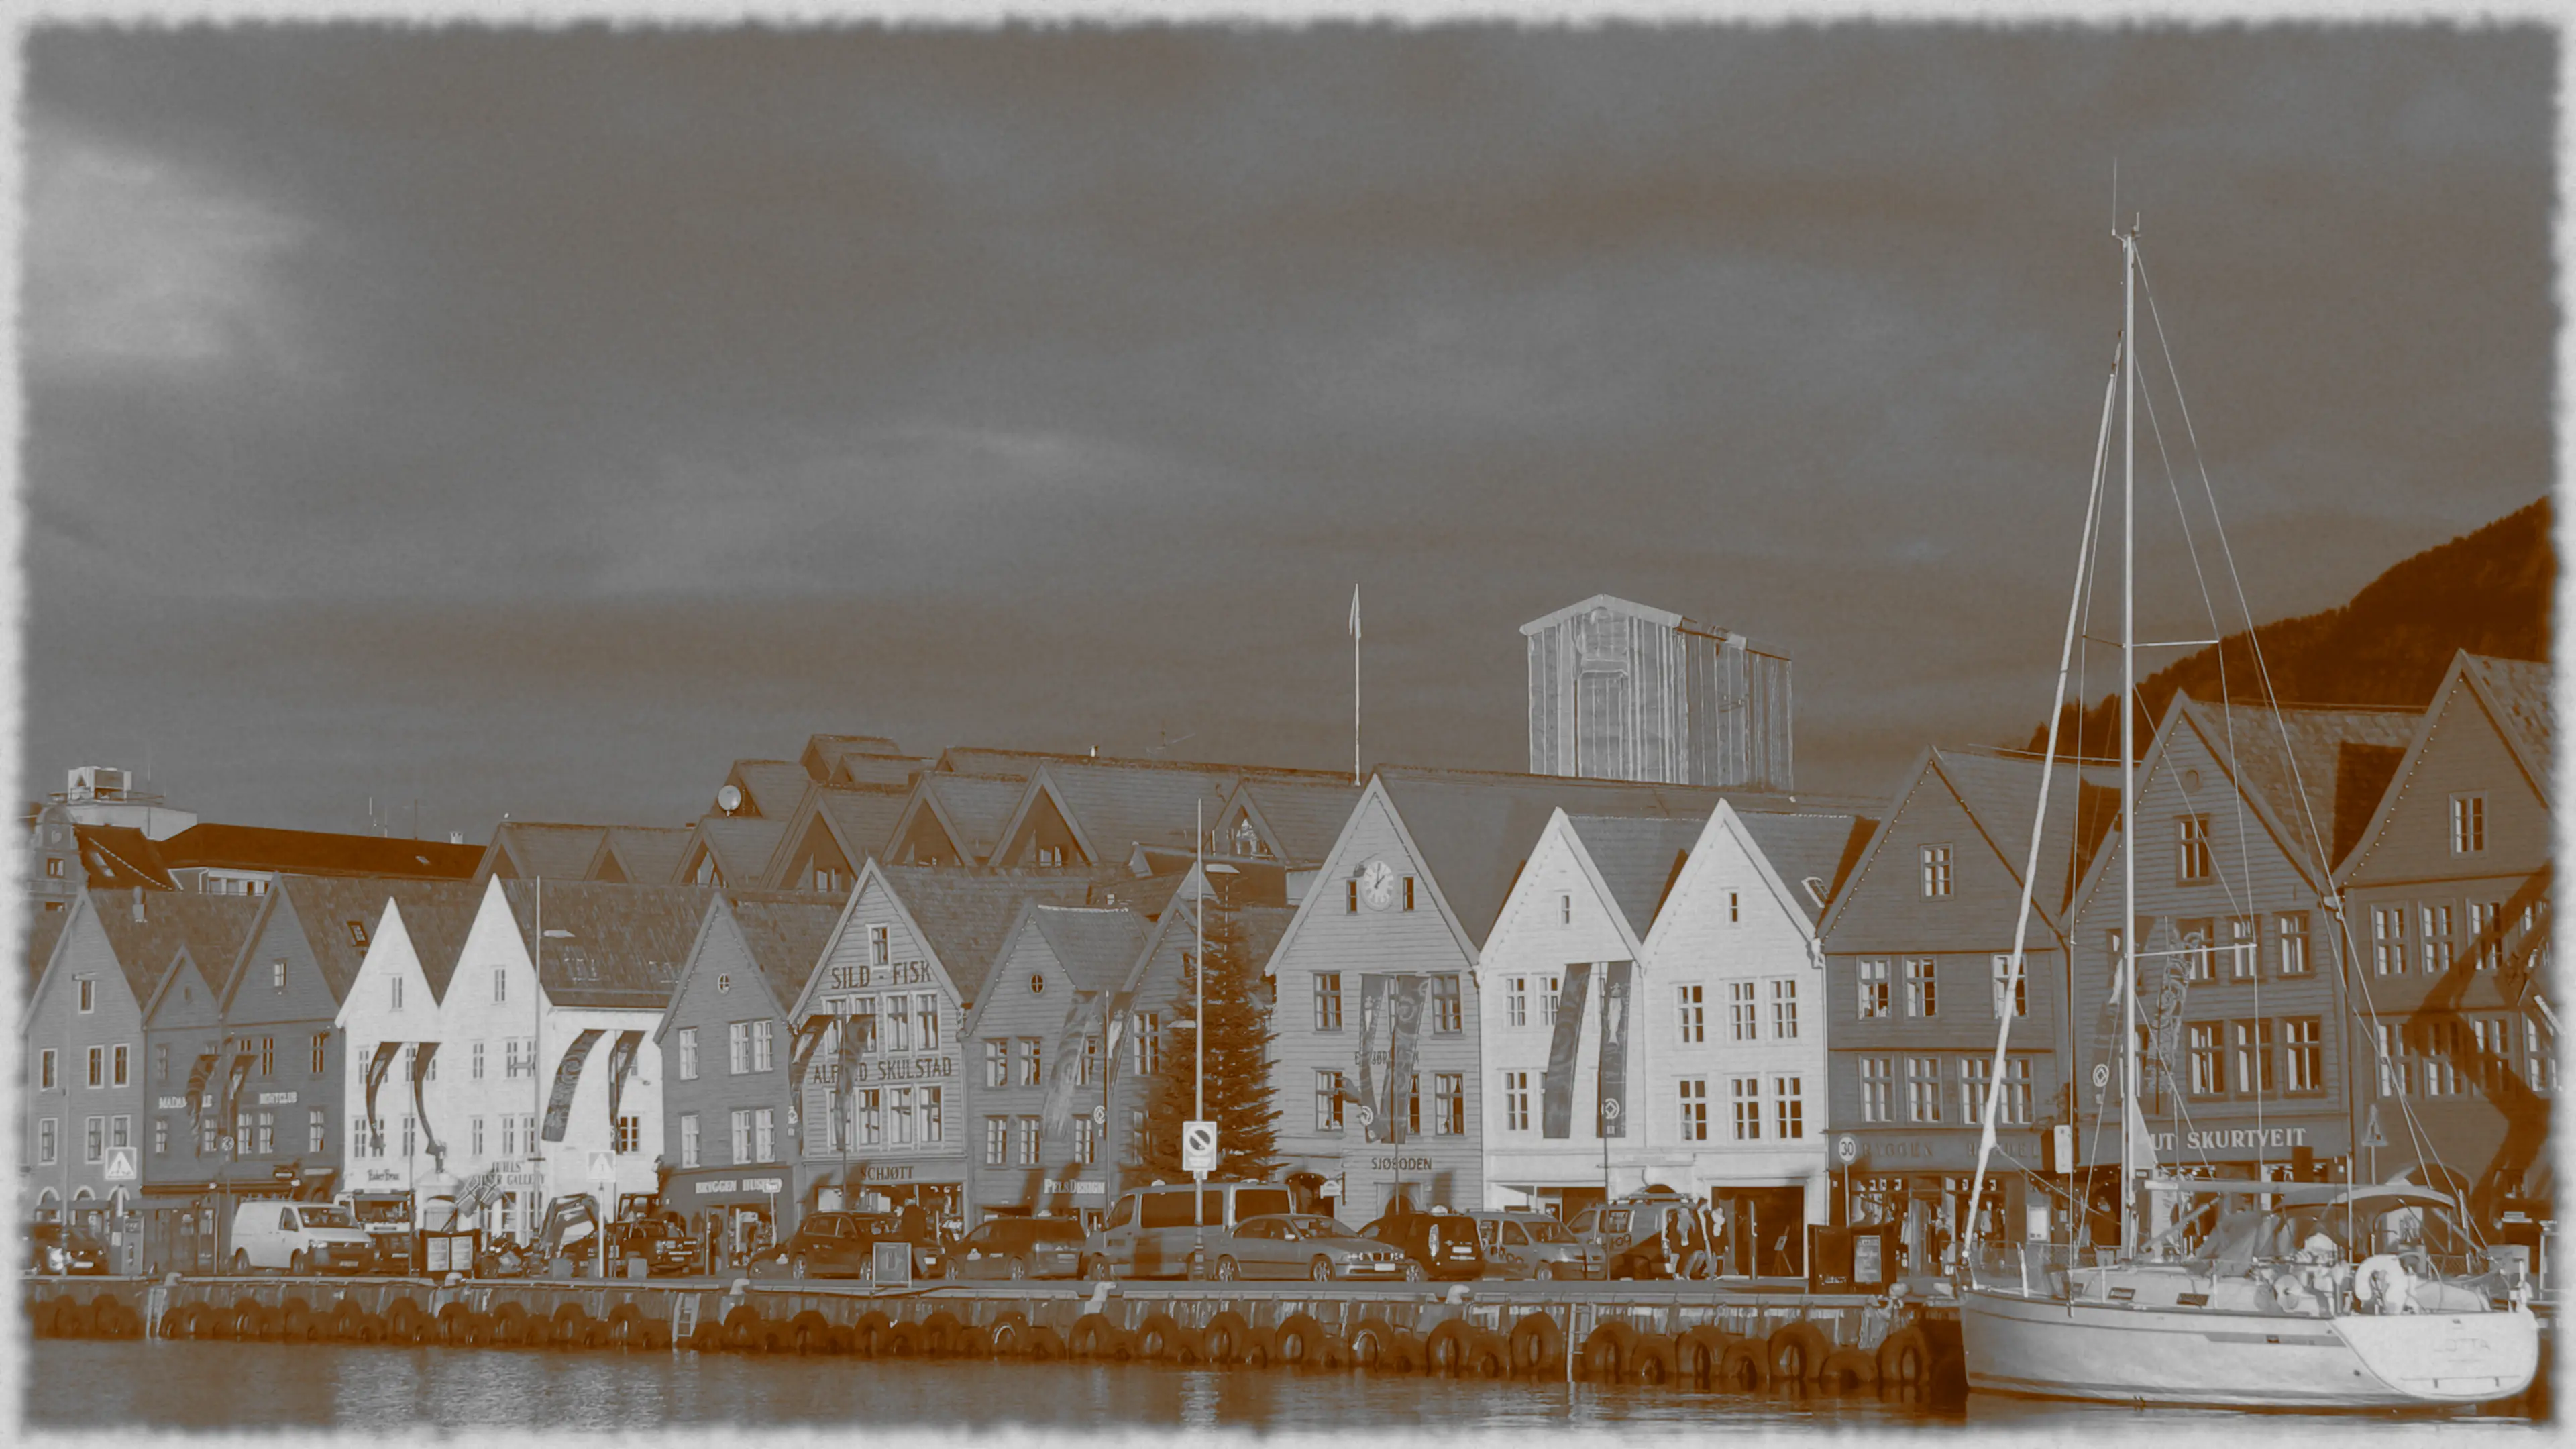
man test-tls-connectionThe GIMP-Scripts are a collection of scripts using GIMP and GraphicsMagick to render text as well as to apply effects on and resize images.
Examples input images for the following non-rendering examples (click on image for full-size view):
|
|
|
|
|
Fractal.webp |
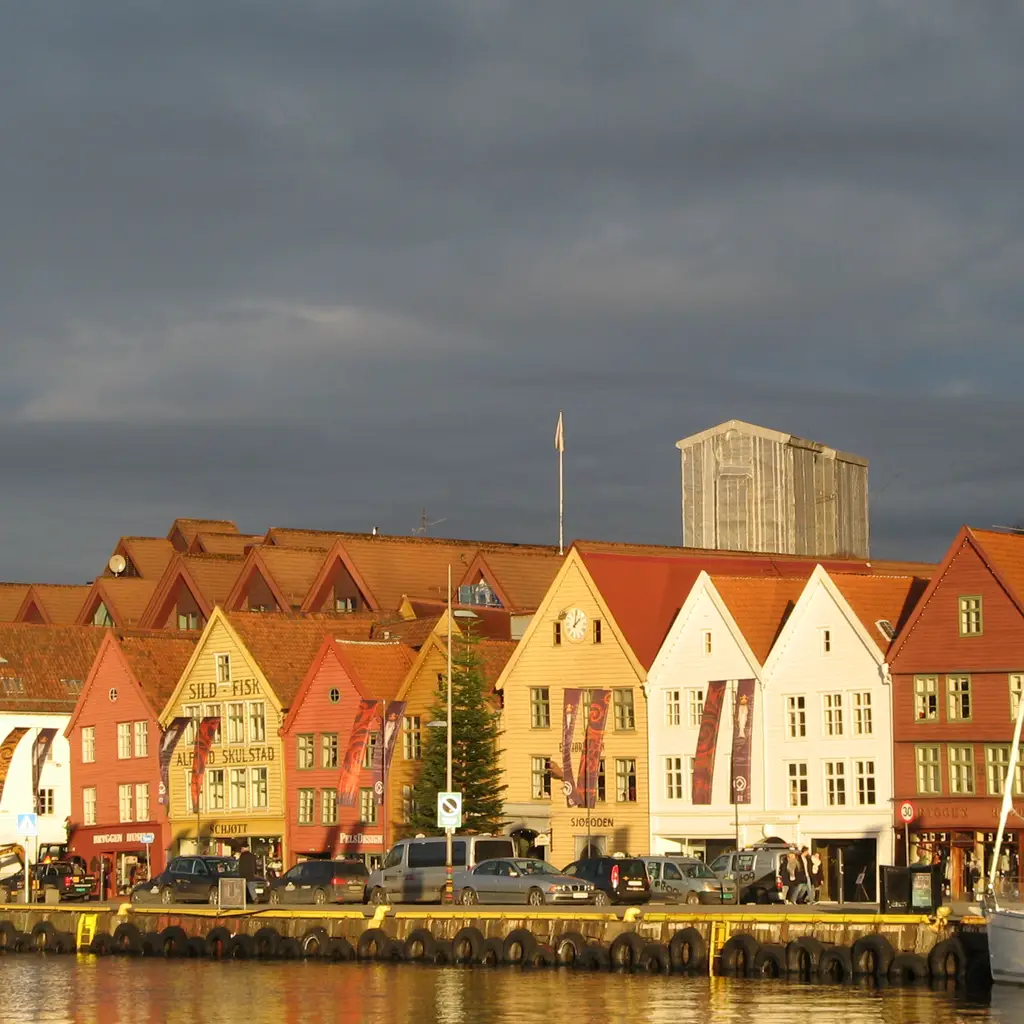
GS-Resize-with-Cropping resizes an image, including cropping to fit a changed aspect ratio.
Examples (click on image for full-size view):
|
|
|
|
|
|
|
Also see the manpage of GS-Resize-with-Cropping for further details and examples:
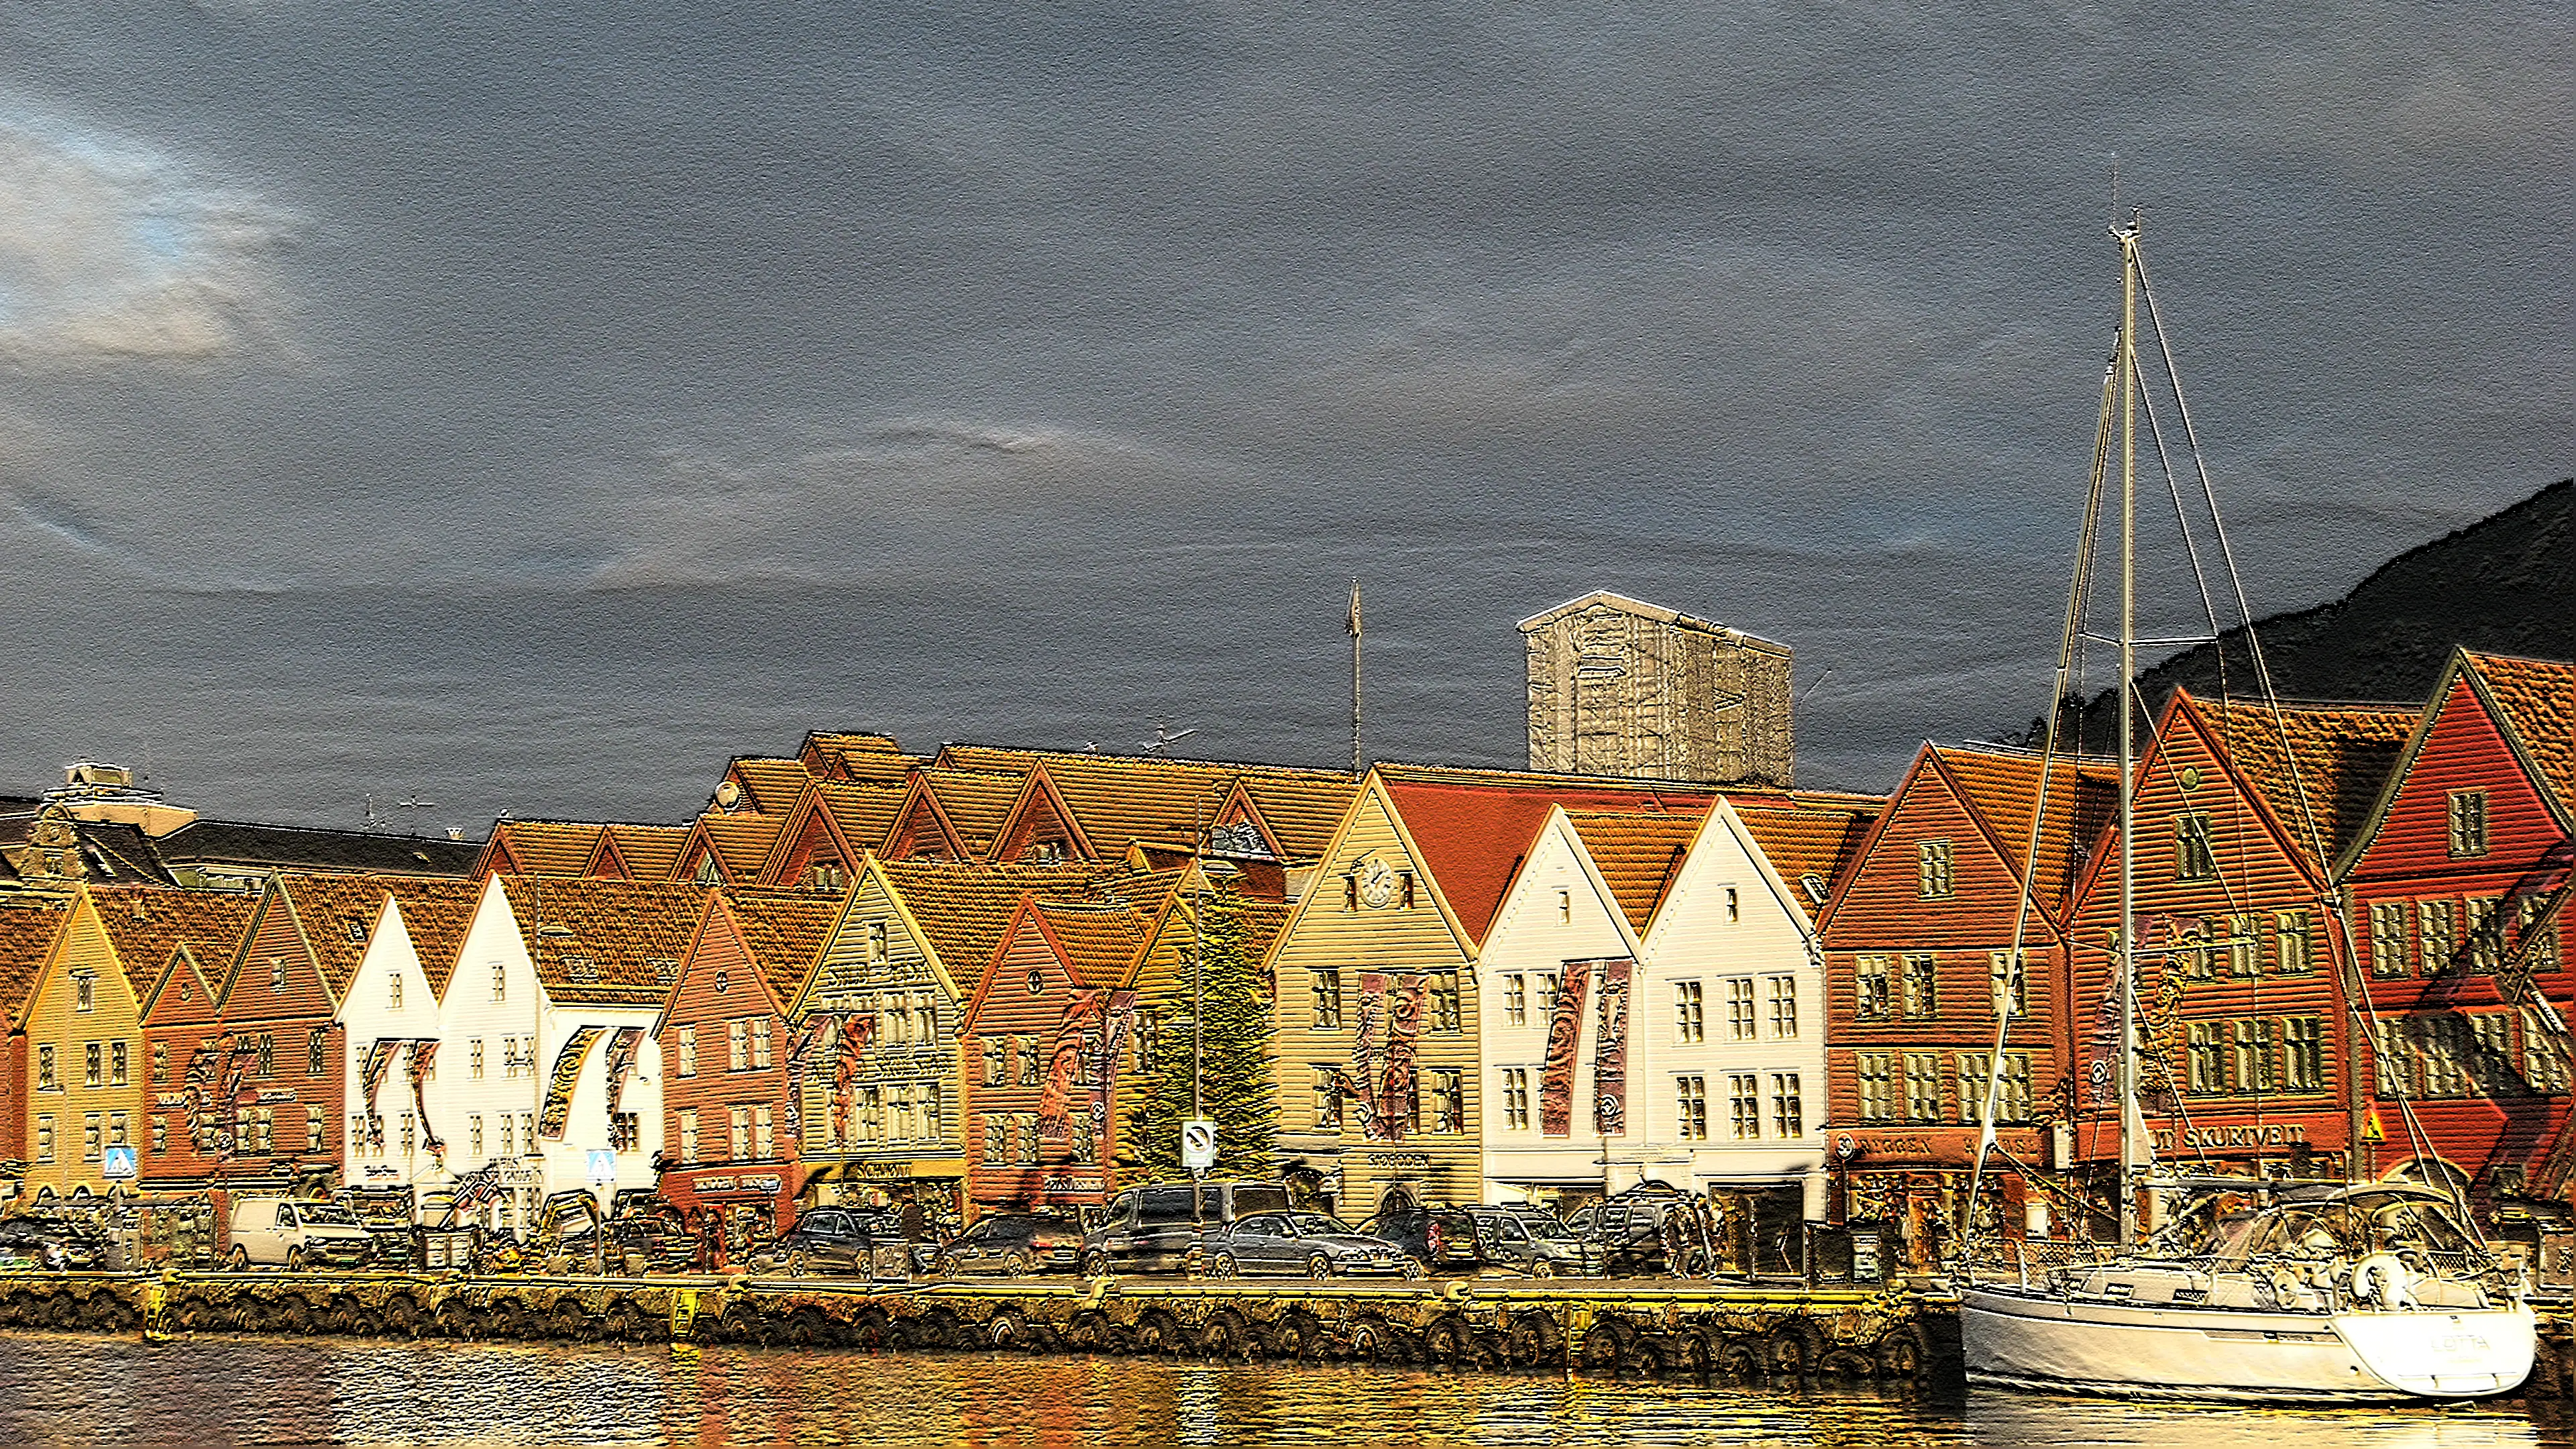
man gs-resize-with-croppingGS-BumpMap runs GIMP to load an image, applies the GIMP GEGL “Bump Map” filter as well as Hue-Saturation adjustment, and stores the result into an output file.
Examples (click on image for full-size view):
|
|
|
|
|
|
|
Also see the manpage of GS-BumpMap for further details and examples:
man gs-bumpmapGS-Clothify runs GIMP to load an image, applies the GIMP Script-Fu “Clothify” filter, and stores the result into an output file. The blurring, bearing, and depth are configurable.
Examples (click on image for full-size view):
|
|
|
|
|
|
|
Also see the manpage of GS-Clothify for further details and examples:
man gs-clothifyGS-Mosaic runs GIMP to load an image, applies the GIMP GEGL “Mosaic” filter, and stores the result into an output file. The tile type (triangles, squares, hexagons, octagons), tile size, tile height, tile neatness, tile surface (smooth or rough) tile spacing, coloring and lighting are configurable.
Examples (click on image for full-size view):
|
|
|
|
|
|
|
Also see the manpage of GS-Mosaic for further details and examples:
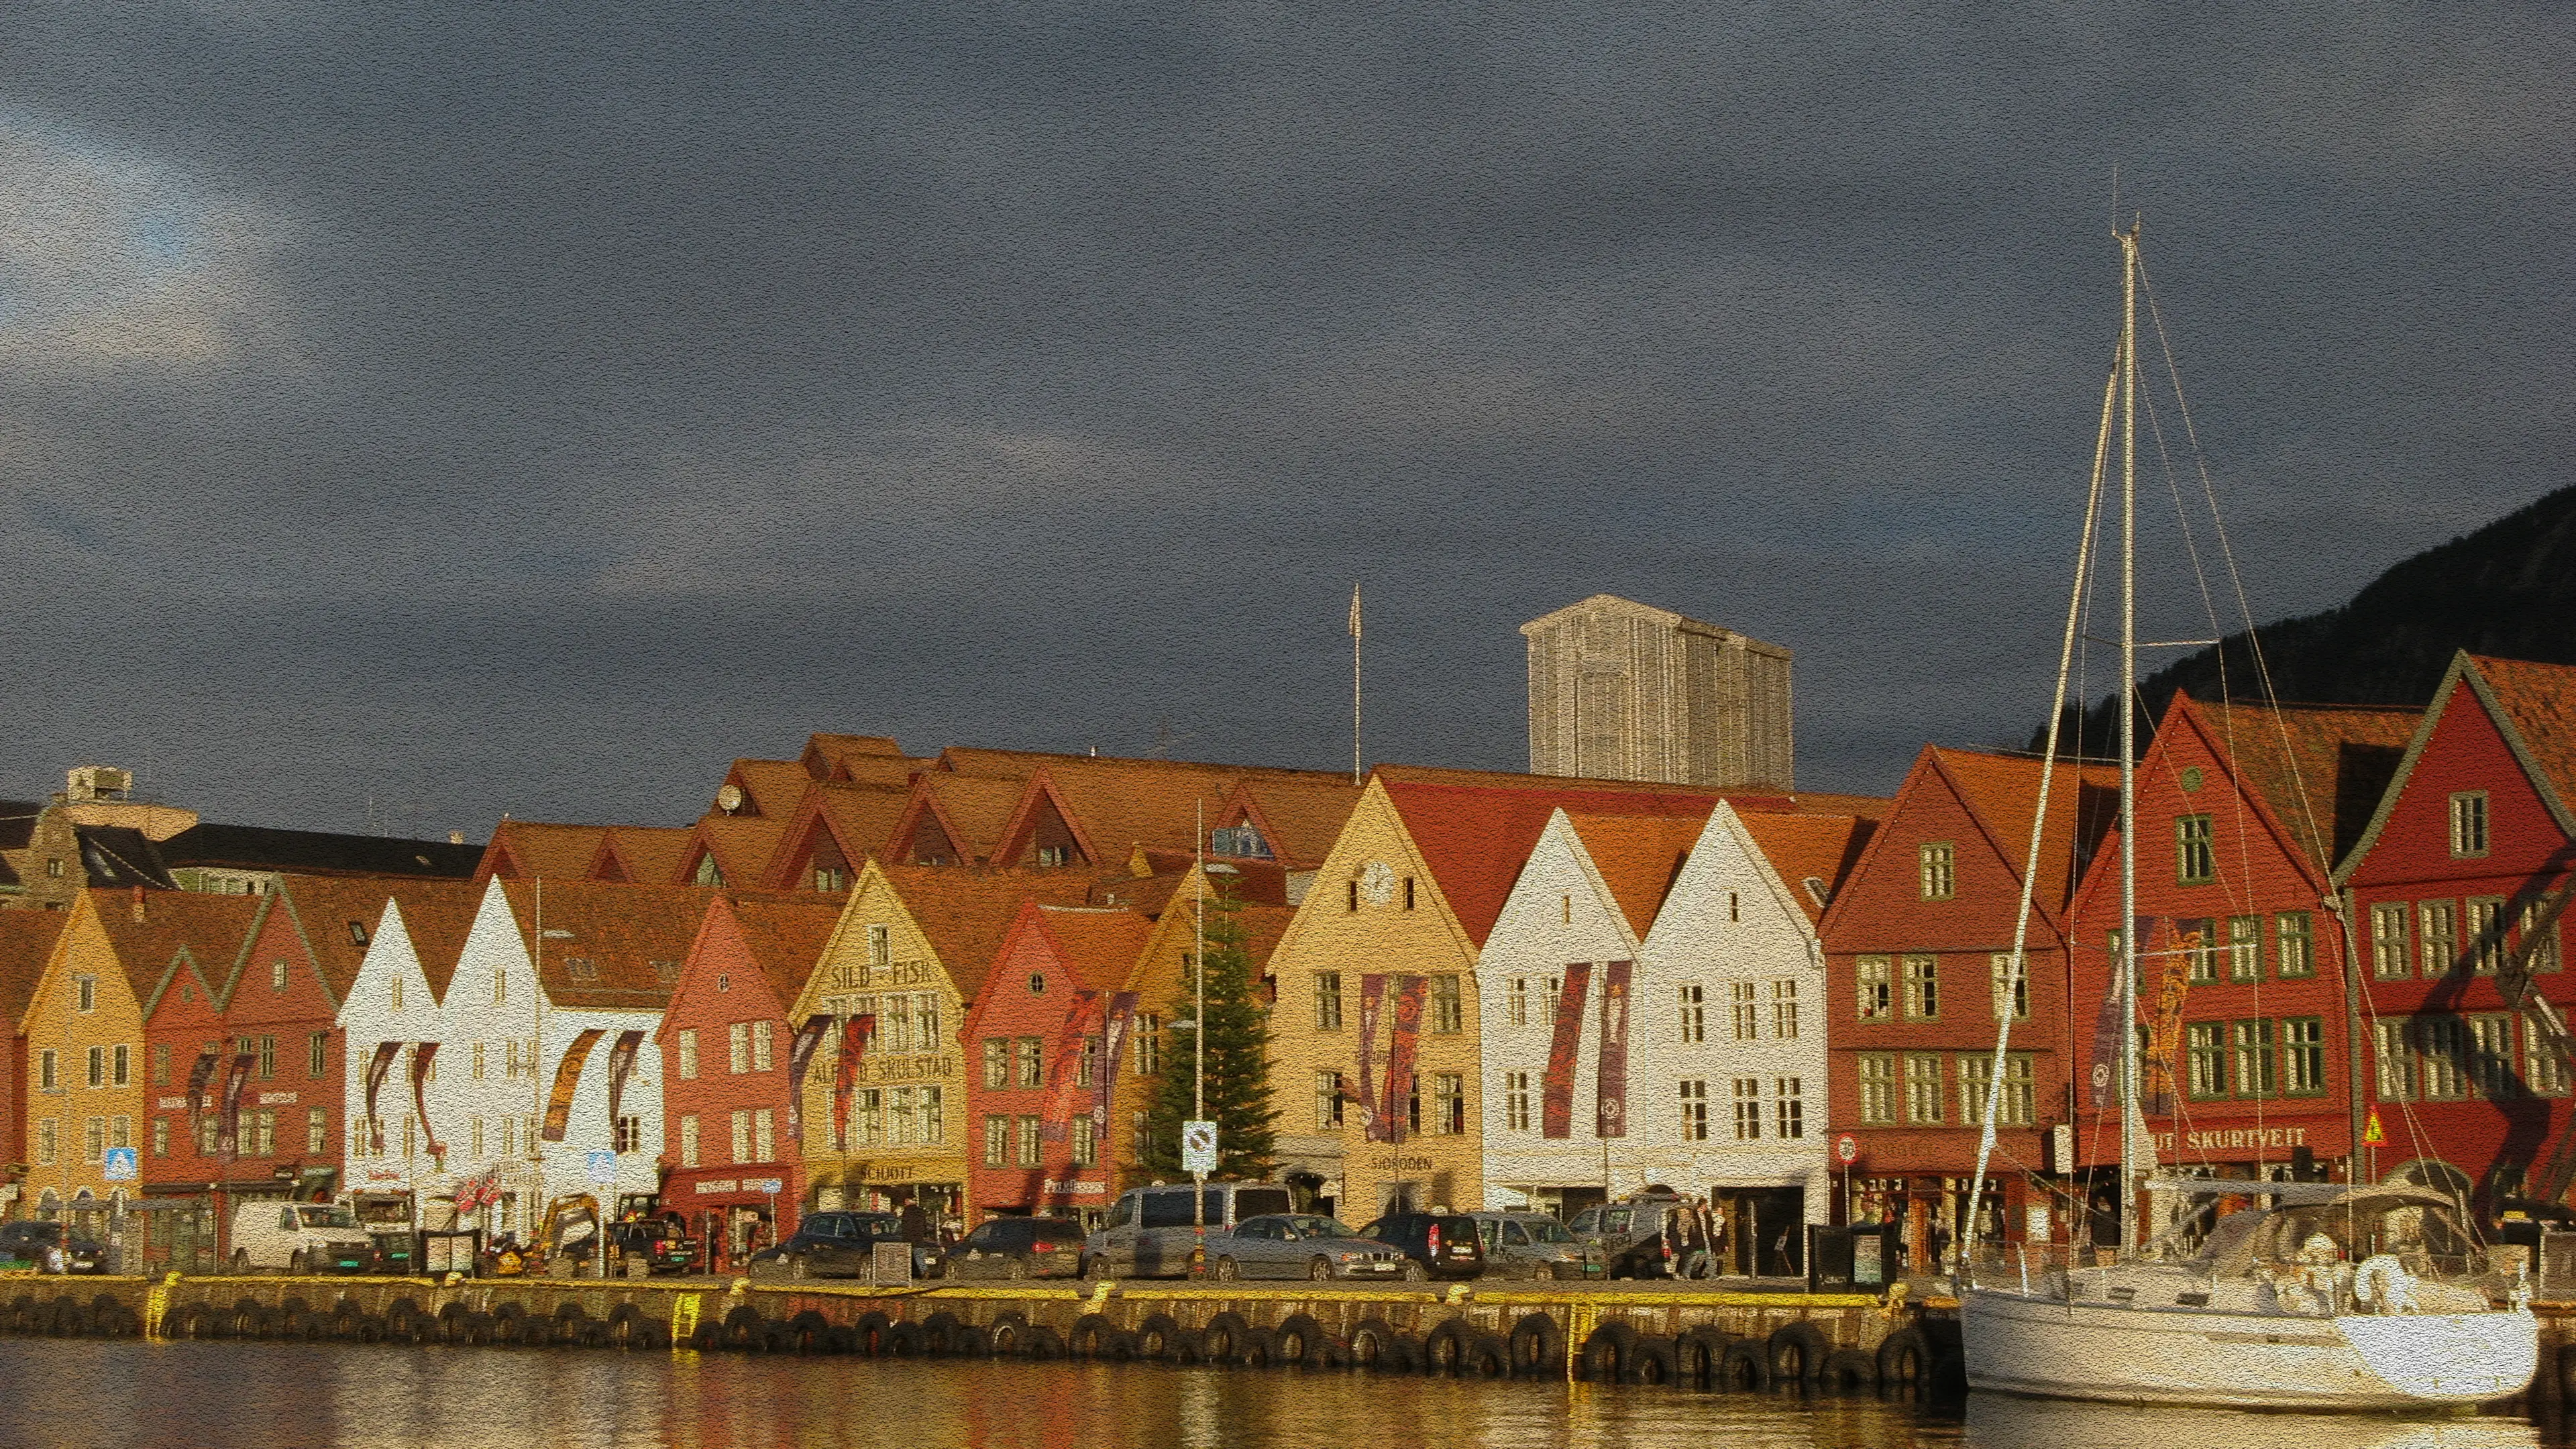
man gs-mosaicGS-Oilify runs GIMP to load an image, applies the GIMP GEGL “Oilify” filter, and stores the result into an output file. The mask size and intensity mode (on or off) are configurable.
Examples (click on image for full-size view):
|
|
|
|
|
|
|
Also see the manpage of GS-Oilify for further details and examples:
man gs-oilifyGS-OldPhoto runs GIMP to load an image, applies the GIMP Script-Fu “Old Photo” filter, and stores the result into an output file. The defocus mode (on or off), border size, sepia mode (on or off) and mottle mode (on or off) are configurable.
Examples (click on image for full-size view):
|
|
|
|
|
|
|
Also see the manpage of GS-OldPhoto for further details and examples:
man gs-oldphotoGS-Caption runs GIMP to generate a caption image with given text using a specific font. The foreground and background color, transparency, font, and font size are configurable.
Examples (click on image for full-size view):
|
|
|
|
|
|
|
See the manpage of GS-Caption for further details and examples:
man gs-captionAlso see GS-List-Fonts for obtaining a list of available fonts.
GS-GlossyText runs GIMP and the GIMP Script-Fu “Glossy” script to render a given text using a specific font. The color gradients, patterns, font, and font size are configurable.
Examples (click on image for full-size view):
|
|
|
|
|
|
|
See the manpage of GS-GlossyText for further details and examples:
man gs-glossytextAlso see GS-List-Fonts, GS-List-Gradients, and GS-List-Patterns for obtaining lists of available fonts, gradients, and patterns.
GS-Test-Gimp runs a short test to verify that GIMP can run a GIMP script in non-GUI mode. If not already initialised, GIMP will create the GIMP directory with configuration files on first startup. The storage location of this directory is provided to GIMP by its environment variables GIMP3_DIRECTORY (Gimp 3.x) and GIMP2_DIRECTORY (Gimp 2.x).
Examples:
Simply run a GIMP test:
GIMP2_DIRECTORY=/tmp/gimp-temp-dir GIMP3_DIRECTORY=/tmp/gimp-temp-dir \
   gs-test-gimp
Run a GIMP test, with verbose output for debugging:
GIMP2_DIRECTORY=/tmp/gimp-temp-dir GIMP3_DIRECTORY=/tmp/gimp-temp-dir \
   gs-test-gimp --verbose
Also see the manpage of GS-Test-Gimp for further details and examples:
man gs-test-gimp
GS-List-Fonts lists the available GIMP fonts and their styles as combined strings. These font/style strings are e.g. valid settings for the --font-name parameter of GS-Caption and GS-GlossyText.
Usage:
gs-list-fontsAlso see the manpage of GS-List-Fonts for further information:
man gs-list-fontsGS-List-Gradients lists the available GIMP gradients.
Usage:
gs-list-gradientsAlso see the manpage of GS-List-Gradients for further information:
man gs-list-gradients
These gradients are e.g. valid settings for the --blend-gradient-* parameters of GS-GlossyText.
GS-List-Patterns lists the available GIMP patterns. These patterns are e.g. valid settings for the --pattern-* parameters of GS-GlossyText.
Usage:
gs-list-patternsAlso see the manpage of GS-List-Patterns for further information:
man gs-list-patternsPlease use the issue tracker at https://github.com/dreibh/system-tools/issues to report bugs and issues!
For ready-to-install Ubuntu Linux packages of System-Tools, see Launchpad PPA for Thomas Dreibholz!
sudo apt-add-repository -sy ppa:dreibh/ppa
sudo apt-get update
For the basic System-Tools (without the dependency-heavy GIMP-Scripts):
sudo apt-get install td-system-tools-basicFor the complete System-Tools (including the GIMP-Scripts):
sudo apt-get install td-system-tools-completeFor ready-to-install Fedora Linux packages of System-Tools, see COPR PPA for Thomas Dreibholz!
sudo dnf copr enable -y dreibh/ppaFor the basic System-Tools (without the dependency-heavy GIMP-Scripts):
sudo dnf install td-system-tools-basicFor the complete System-Tools (including the GIMP-Scripts):
sudo dnf install td-system-tools-completeFor ready-to-install FreeBSD packages of System-Tools, it is included in the ports collection; see FreeBSD ports tree index of net/td-system-tools/!
sudo pkg install td-system-toolsNote: The FreeBSD port package contains the basic System-Tools (without the dependency-heavy GIMP-Scripts, and without Configure-GRUB).
Alternatively, to compile it from the ports sources:
cd /usr/ports/net/td-system-tools
make
sudo make install
Compiling from the port sources provides the optional installation of the GIMP-Scripts and/or Configure-GRUB.
System-Tools is released under the GNU General Public License (GPL).
Please use the issue tracker at https://github.com/dreibh/system-tools/issues to report bugs and issues!
The Git repository of the System-Tools sources can be found at https://github.com/dreibh/system-tools:
git clone https://github.com/dreibh/system-tools
cd system-tools
sudo ci/get-dependencies --install
cmake .
make
Optionally, for installation to the standard paths (usually under /usr/local):
sudo make install
Note: The script ci/get-dependencies automatically installs the build dependencies under Debian/Ubuntu Linux, Fedora Linux, and FreeBSD. For manual handling of the build dependencies, see the packaging configuration in debian/control (Debian/Ubuntu Linux), td-system-tools.spec (Fedora Linux), and Makefile for FreeBSD.
Contributions:
Issue tracker: https://github.com/dreibh/system-tools/issues. Please submit bug reports, issues, questions, etc. in the issue tracker!
Pull Requests for System-Tools: https://github.com/dreibh/system-tools/pulls. Your contributions to System-Tools are always welcome!
CI build tests of System-Tools: https://github.com/dreibh/system-tools/actions.
The tarball has been signed with my GnuPG key 21412672518D8B2D1862EFEF5CD5D12AA0877B49. Its authenticity and integrity can be verified by:
gpg --keyserver hkp://keyserver.ubuntu.com --recv-keys 21412672518D8B2D1862EFEF5CD5D12AA0877B49
gpg --verify td-system-tools-<VERSION>.tar.xz.asc td-system-tools-<VERSION>.tar.xz
The tarballs have been signed with my GnuPG key 21412672518D8B2D1862EFEF5CD5D12AA0877B49. Its authenticity and integrity can be verified by:
gpg --keyserver hkp://keyserver.ubuntu.com --recv-keys 21412672518D8B2D1862EFEF5CD5D12AA0877B49
gpg --verify td-system-tools-<VERSION>.tar.xz.asc td-system-tools-<VERSION>.tar.xz
To provide a translation of one or more components of System-Tools into your language, apply the following steps:
Build System-Tools from the Git sources (see Development Version), i.e. use the “master” branch with the latest development version. The build will create .pot (translation template files) under po.
Create a new Git branch for your translations, e.g. my_username/translations_language_XX (with XX the language code for your language, e.g. da for Danish):
git branch my_username/translations_language_XX
git checkout my_username/translations_language_XX
Take a look at the existing .po files (translations files) in po/de (German) and po/nb (Bokmål) as examples, e.g. po/de/System-Info.po or po/nb/System-Info.po for System-Info. Then, prepare a translation for program PROGRAM (e.g. System-Info; see the name of the .pot translation template file) for your language XX under po:
mkdir -p XX
msginit --input PROGRAM.pot \
        --locale XX.UTF-8 \
        --output-file XX/PROGRAM.po
git add XX/PROGRAM.po
Add your translations into XX/PROGRAM.po, with a text editor or PO file editor like Poedit.
Test, commit and push your changes.
Finally, make a pull request: https://github.com/dreibh/system-tools/pulls.